Create and assign EDD cases
Select a real subject, trigger, and priority before starting work.
Find work first
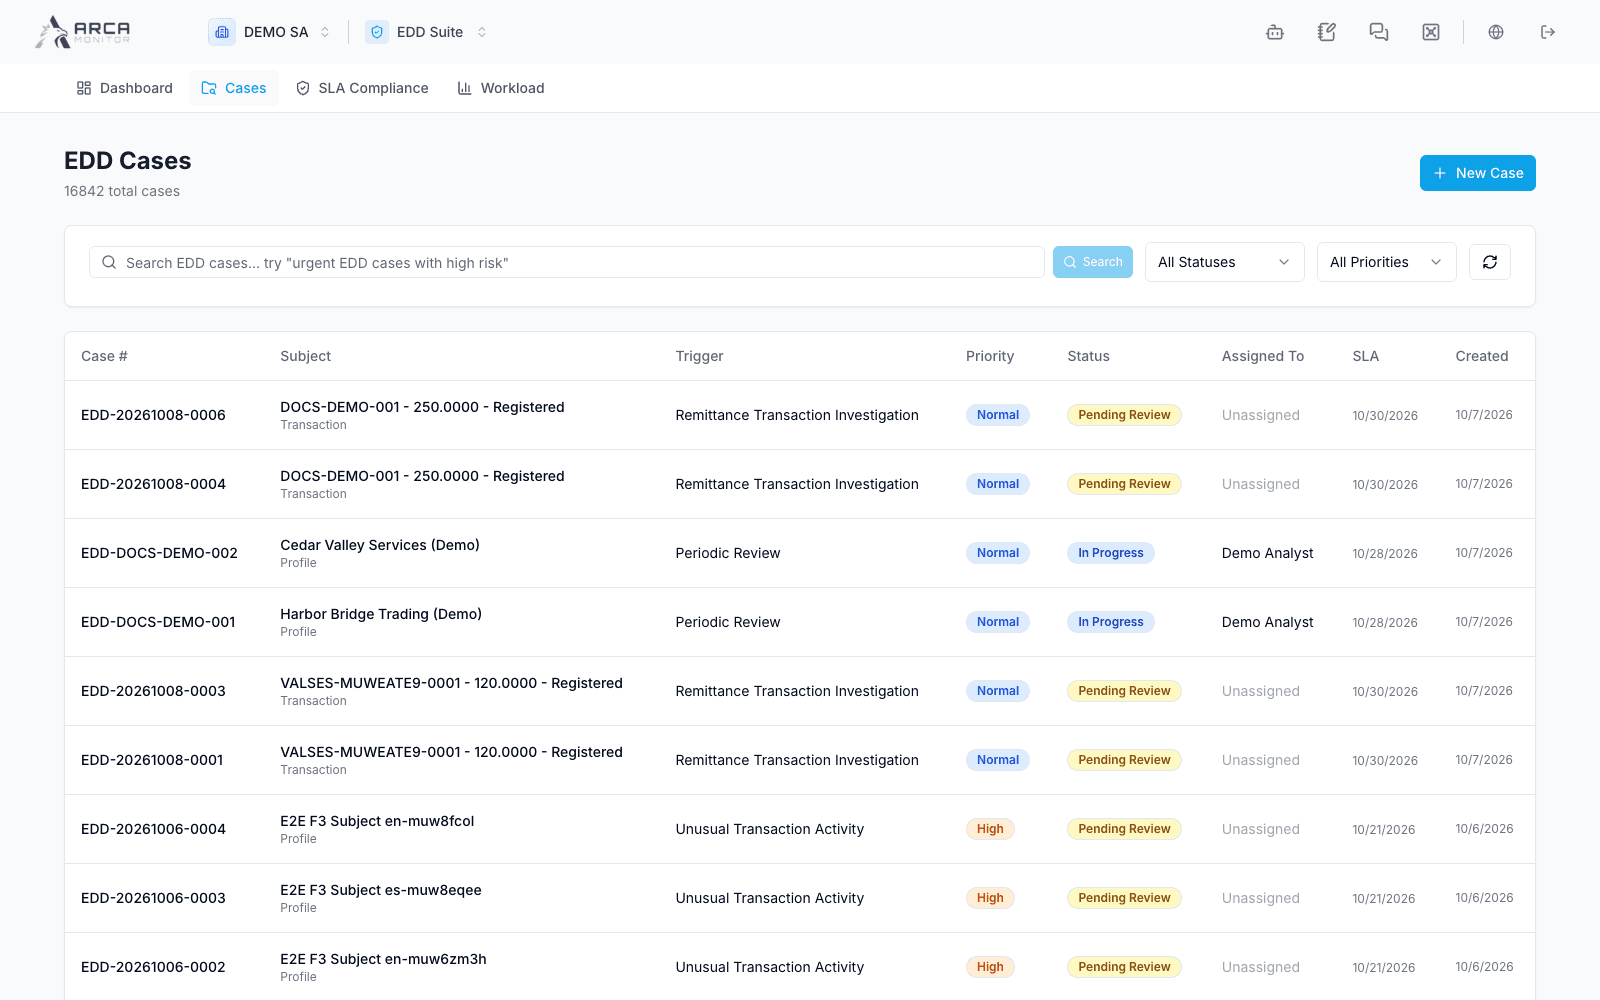
Open Cases, use the available search/status/priority filters, and inspect the subject, case number, assignee, and SLA. Open an existing case when it already covers the work. A filter returning no results does not establish that no other case exists.
Create a case
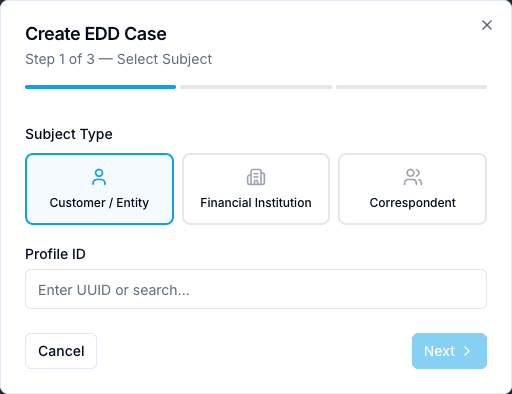
- Select New Case to open Create EDD Case.
- In Select Subject, choose Customer / Entity, Financial Institution, or Correspondent. Supply the correct subject identifier. The current dialog has an ID input; its “search” placeholder does not provide a populated subject picker. Prefer a prefilled entry point from the subject or alert when available.
- In Trigger & Priority, select the applicable trigger, such as PEP exposure, unusual activity, complex ownership, manual escalation, or periodic review. Describe the factual reason and select priority.
- In Review & Create, verify subject type, identifier, trigger, and priority, then create once.
- Confirm the case number and subject on the resulting page. If navigation does not open the case, return through the workspace’s Cases list and find the newly created record before retrying creation.
Assign and advance
Use Assign to choose an available analyst and verify the result. The case offers only the transitions supplied for its current status. Begin work through the offered in-progress transition; use information-requested status when that accurately describes the work.
Changing status records workflow progress; it does not automatically deliver a request to a customer. Record the actual follow-up through your approved process and keep the evidence in the case.
Screens and controls
Create EDD Case: subject selection