Find, create, and assign cases
Use quick views and preserve links when opening an investigation.
Find an existing case
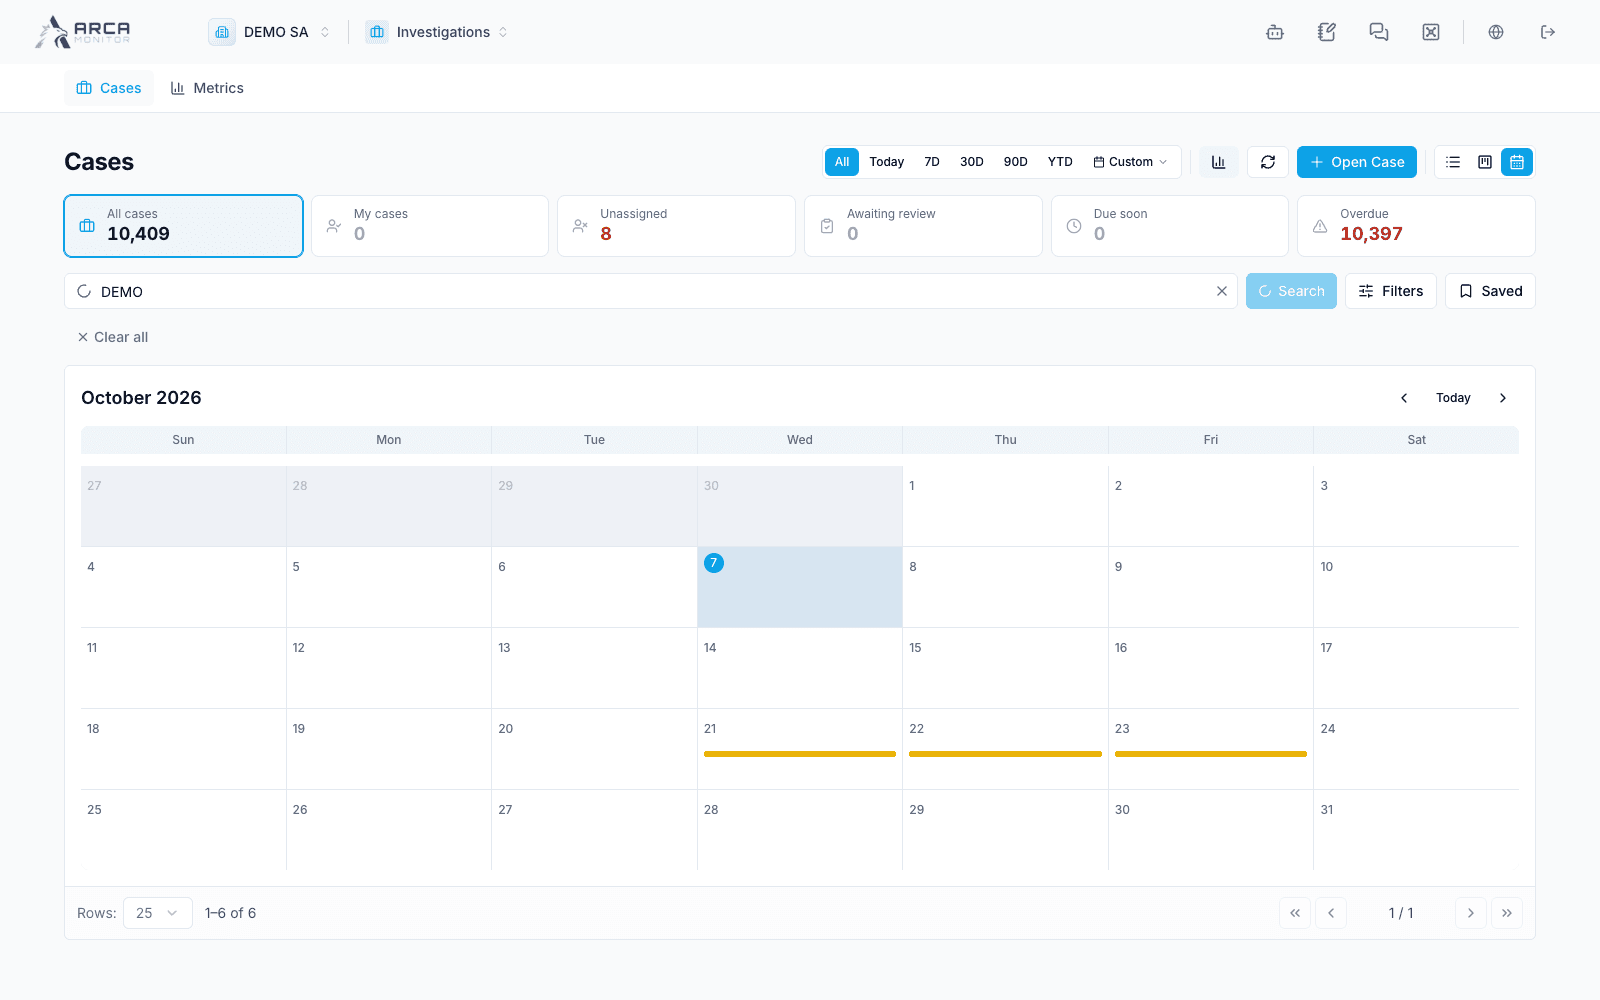
Open Cases, choose a quick view, and search by the available identifying information. Use the filter panel for the case’s attributes, then apply Search. Check date bounds and active chips. The initial created-date scope is all time so older open work is not hidden.
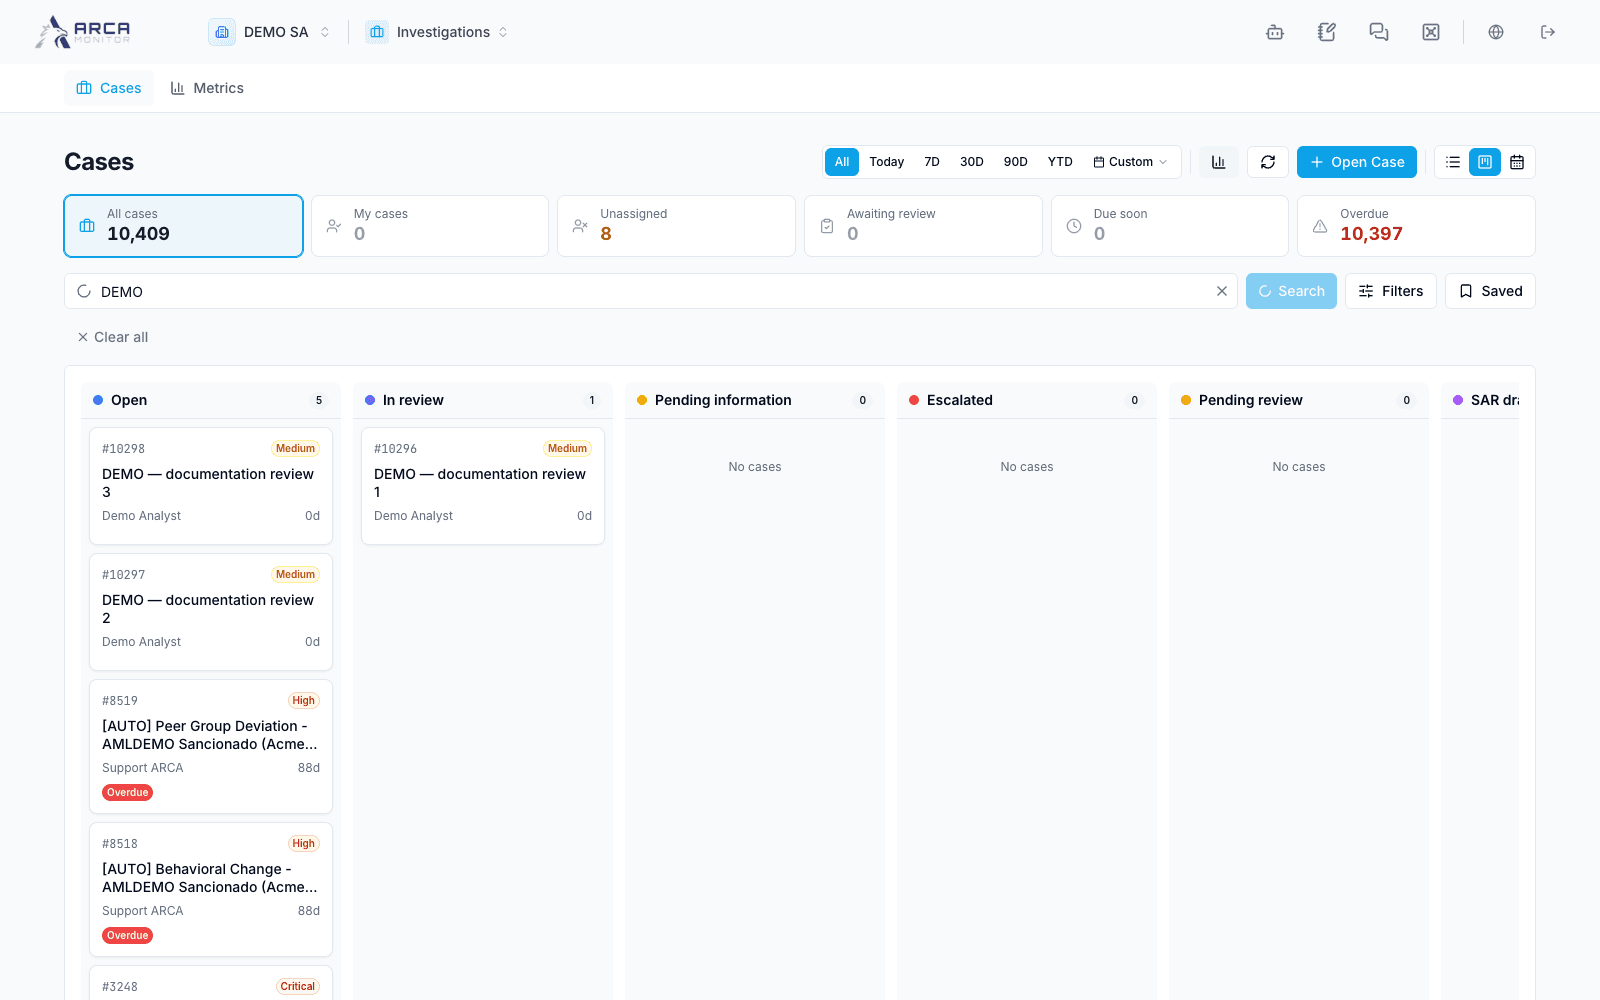
Switch between list, board, and calendar as useful. Saved filters let you return to a working view; they do not grant additional access or freeze the underlying results. Open a row and verify its number, subject, owner, and status before changing it.
Create the right case
- Prefer Create case from the originating alert, transaction, profile, or screening workflow when that is the reason for the investigation. Inspect any subject and source prefilled in the dialog.
- For a standalone investigation, select the new-case control in Cases.
- Enter a meaningful Case title, select Case type and Priority, and explain the scope in the notes/description field. Avoid a title that asserts an unproven conclusion.
- Submit once and wait for the case to open. Verify the resulting identifier and linked records in Evidence; a displayed transaction reference alone is not proof of a saved relationship.
If creation fails, inspect the error and check for an existing case before retrying. From an alert already linked to a case, continue that case rather than duplicating it.
Assign and maintain
Use the assignment control to choose an eligible member or yourself as offered. Confirm the displayed owner afterward. Edit the case’s permitted descriptive fields while it is open. Escalation is a separate action with its own reason and authority. Bulk actions can fail for individual records; verify each result and never assume selecting several cases bypasses their closure requirements.
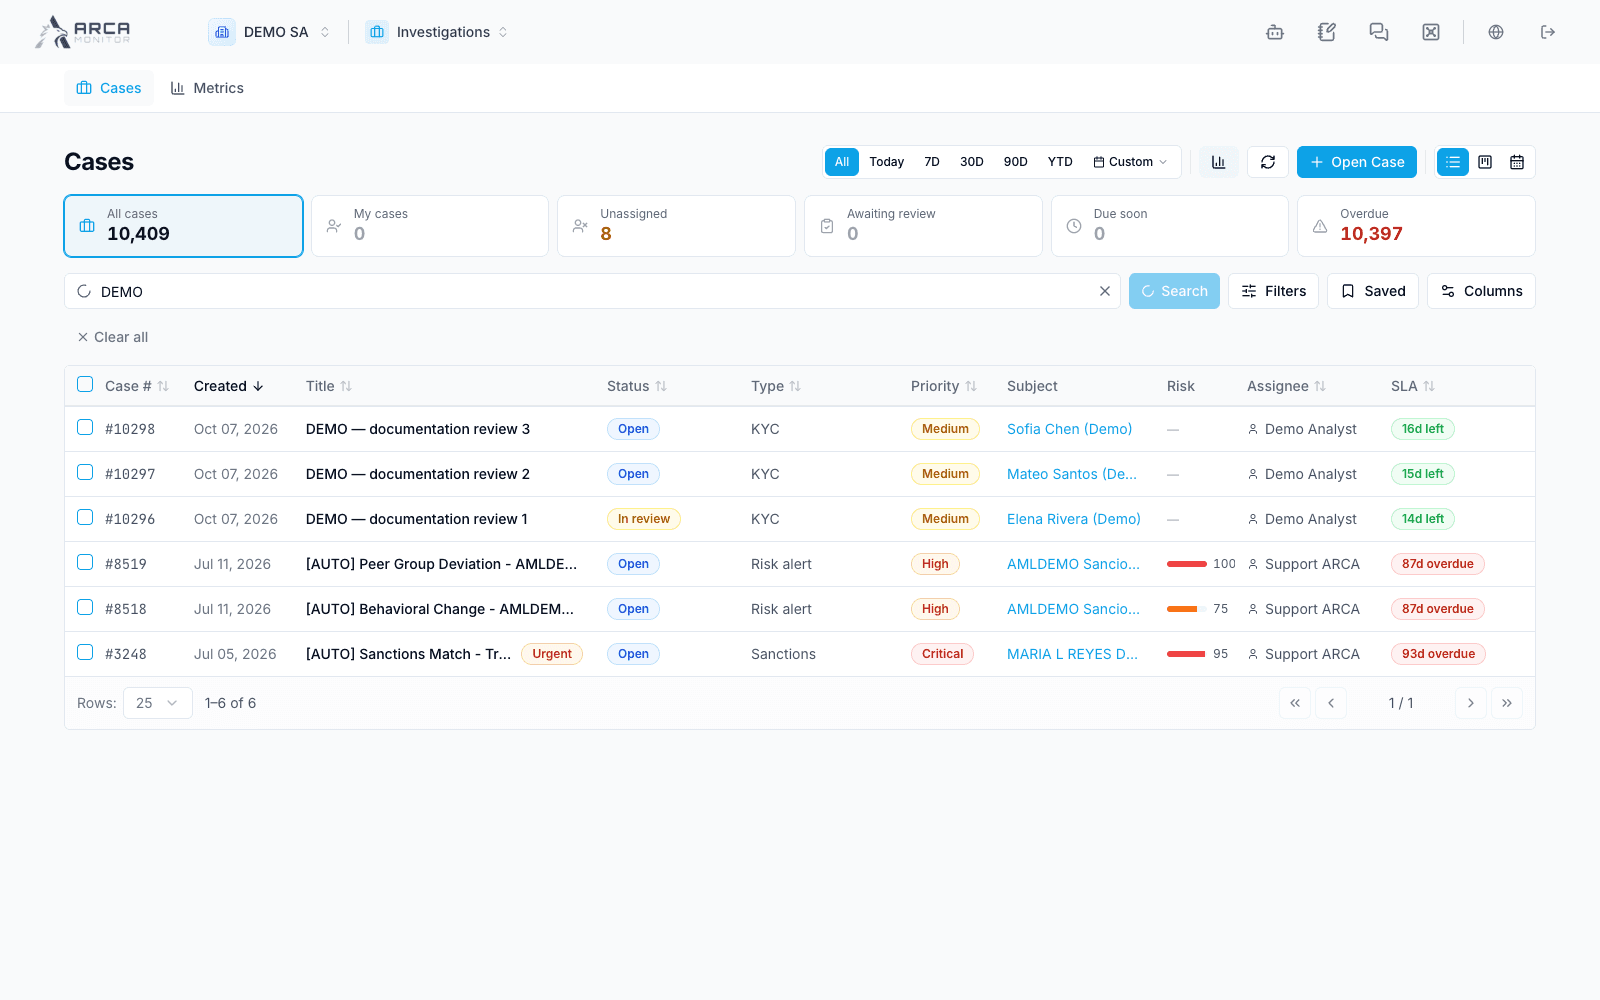
Screens and controls
Cases grouped by workflow state
Case due dates in the calendar view