Import transactions
Upload or paste transaction data, review field mapping, and follow the import.
Use Transactions → Import to bring a dataset into the workspace. An import is a background process: accepting the file starts the work, while the import’s results show what actually happened to its rows.
Prepare the source
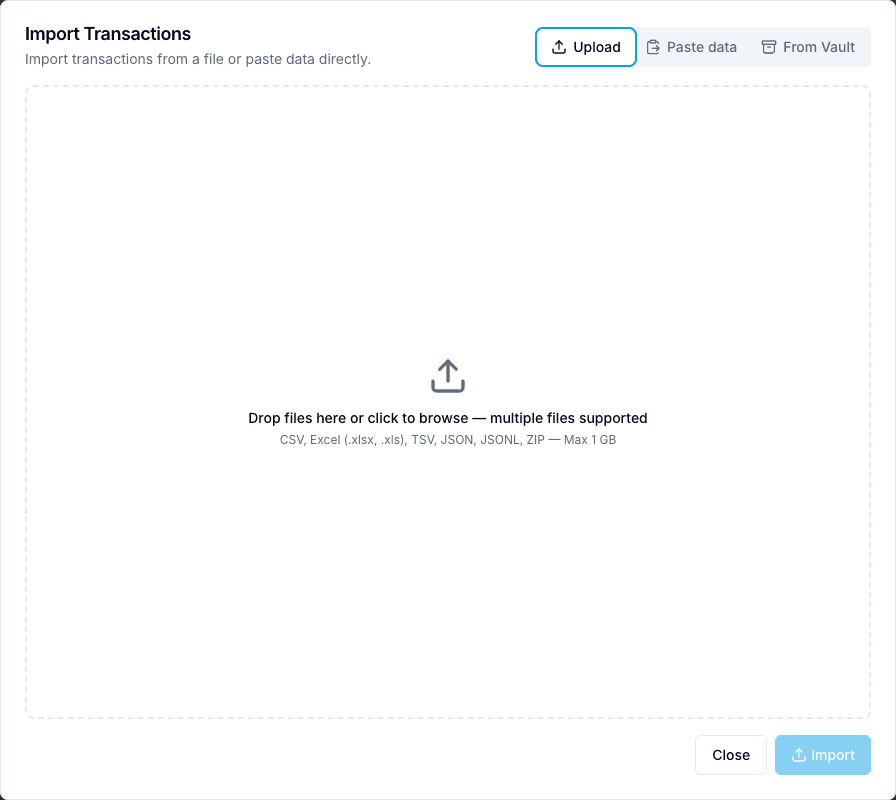
Keep the original file available and confirm the intended workspace. Supported upload formats include CSV, Excel, TSV, text, JSON, JSONL, and ZIP. A supported extension does not guarantee that every structure or row is valid. Follow the file limits displayed by your installation.
For a straightforward tabular import, review these required mapping targets:
| Target | Meaning |
|---|---|
| Transaction ID | The operation’s source identifier. |
| Date | The transaction date, with an unambiguous format. |
| Amount | The source amount. |
| Currency | The source currency. |
| Product | The applicable product value. |
Map available participant names, identification, and other relevant information too. These five targets describe the import interface’s required mapping fields, not every data requirement a product or later control may enforce.
Import step by step
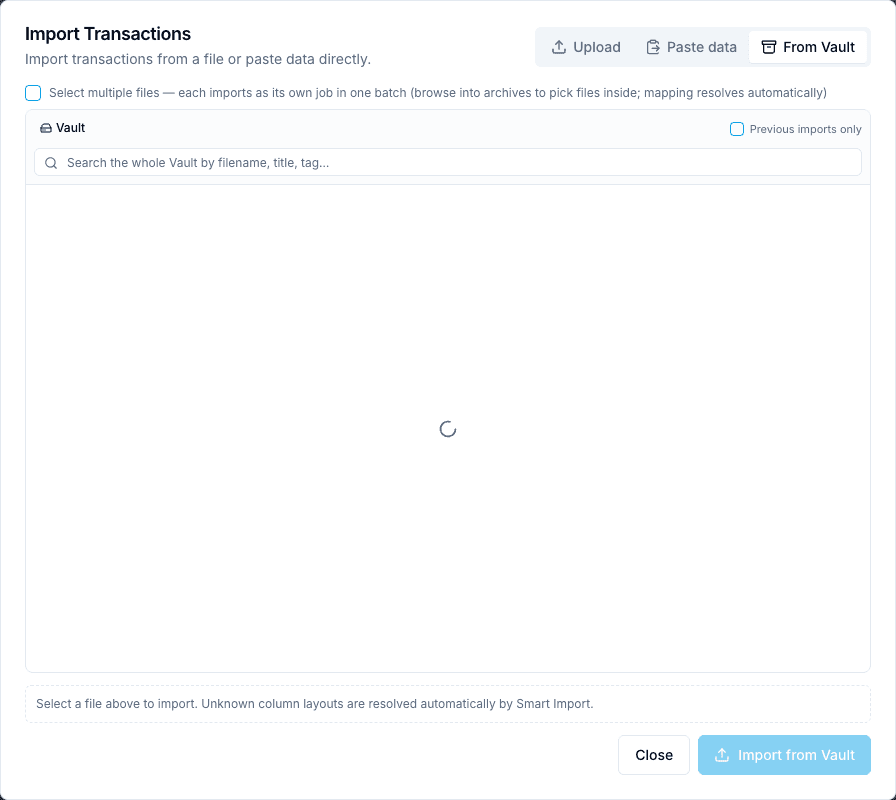
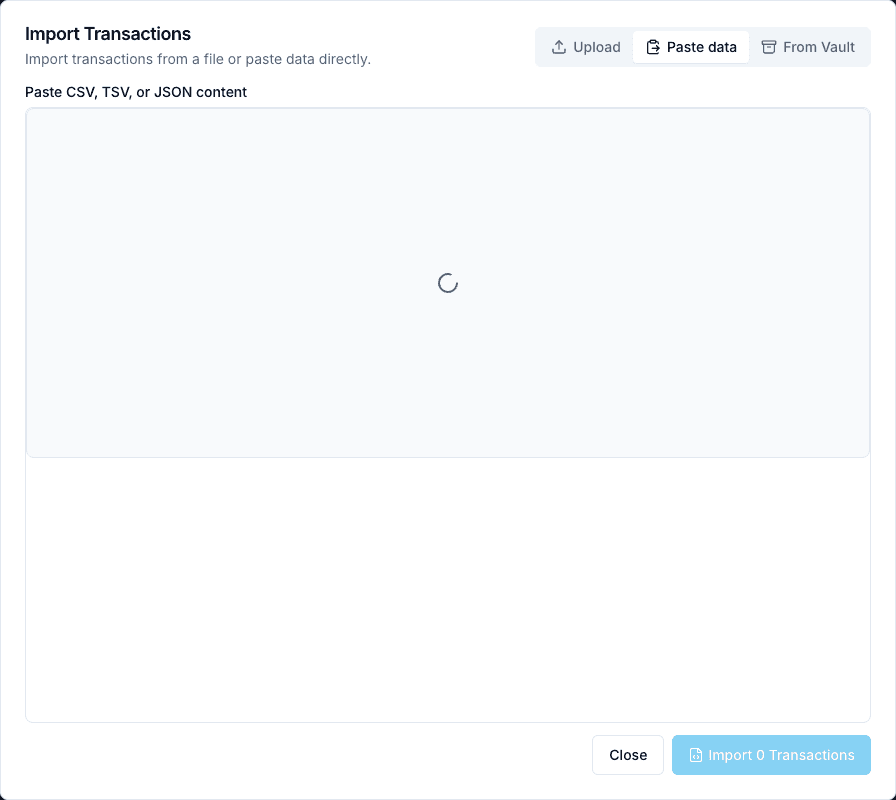
- Choose File upload or Paste data. From Vault appears when the workspace has that application available.
- Select the source or paste the dataset. For multiple files, inspect each item in the import queue; one file’s success does not establish the outcome of the others.
- Review the detected format and preview. The preview is a sample and can be limited to 500 rows. It does not validate the entire file.
- Inspect the suggested field mapping. Match source columns to the intended targets, verify date and numeric interpretation, and review transformations. Check a saved mapping against the current file’s actual headers before reusing it.
- Decide whether Include incomplete rows is appropriate for your team’s procedure. Such rows may be imported with flags; they do not become complete or cleared simply because they were accepted.
- Start the import and follow the job. Open Transactions → History to inspect the run, its counts, mapping, and errors.
Understand warnings before proceeding
File already imported means the platform detected a previously imported file. Review the earlier run before choosing Re-import anyway. A deliberate re-import requires checking the resulting duplicate and created counts; it should not be used as a routine refresh button.
Missing participant details can affect later identification and controls even when a row is accepted. Preserve the original information and resolve data-quality issues through your team’s process.
Verify completion
Compare the run’s row outcomes with the source and open representative created transactions to check product, date, amount, currency, and participants. Then review their analysis separately. An import reaching its terminal state does not establish that every downstream analysis succeeded or that a client executed any payment.
If processing stops or some rows fail, use Import history and recovery to inspect the available continuation plan before uploading the file again.
Screens and controls
Upload entry point
Paste structured source data
Select retained source files from Vault